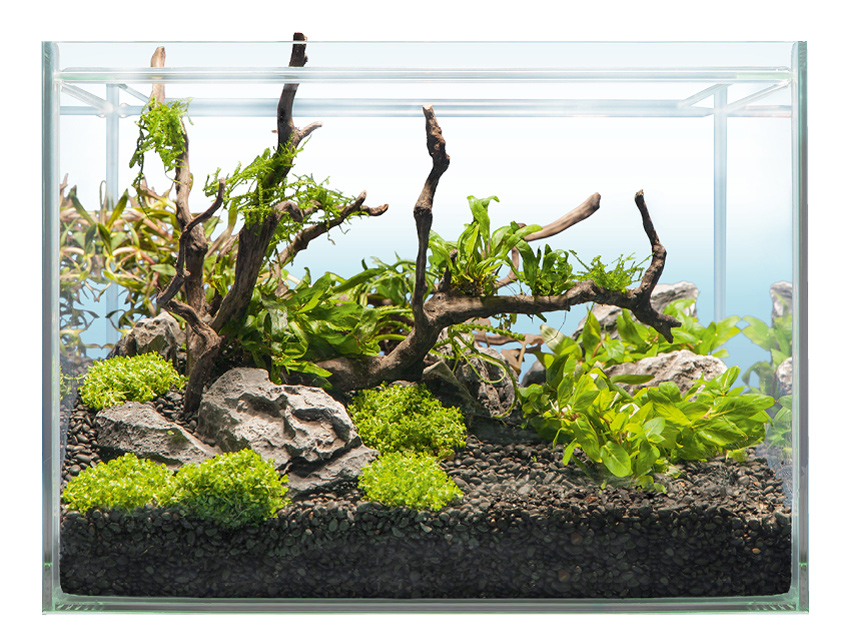
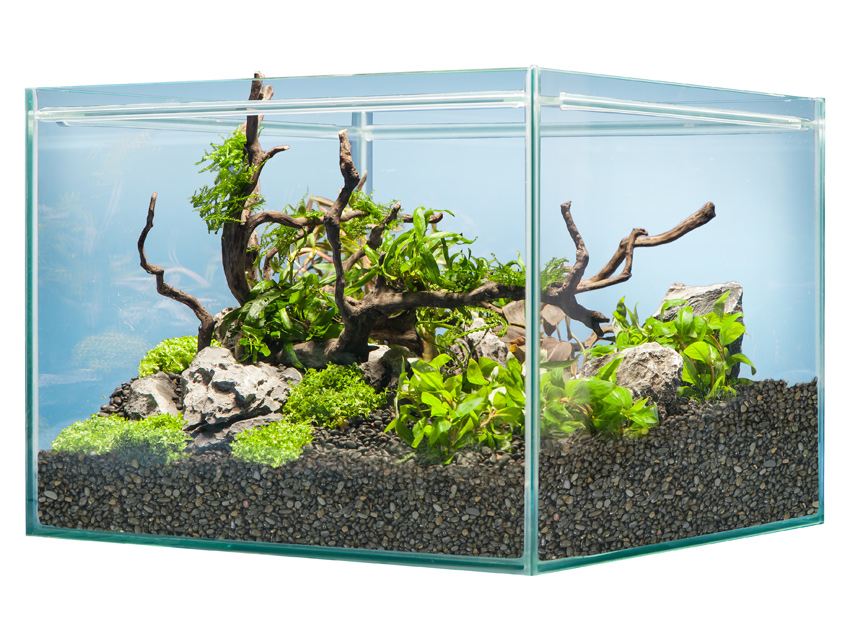
As the name already tells, the Shrimp hardscape allows creating an ideal environment for shrimps. This is included:
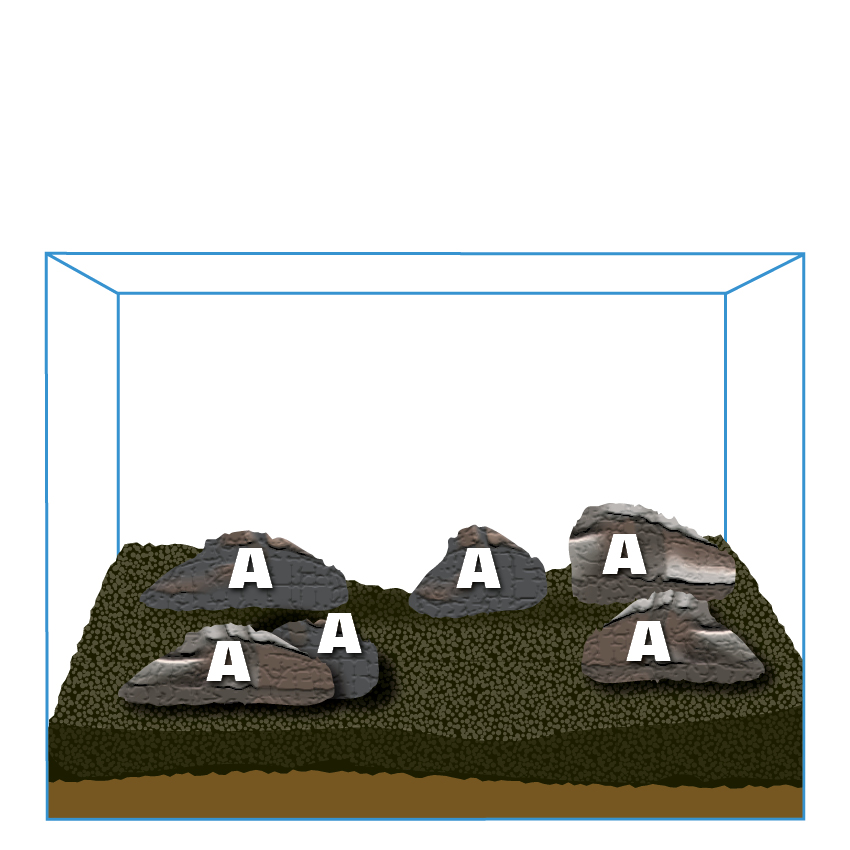
- 6 x sera Rock Gray Mountain S/M
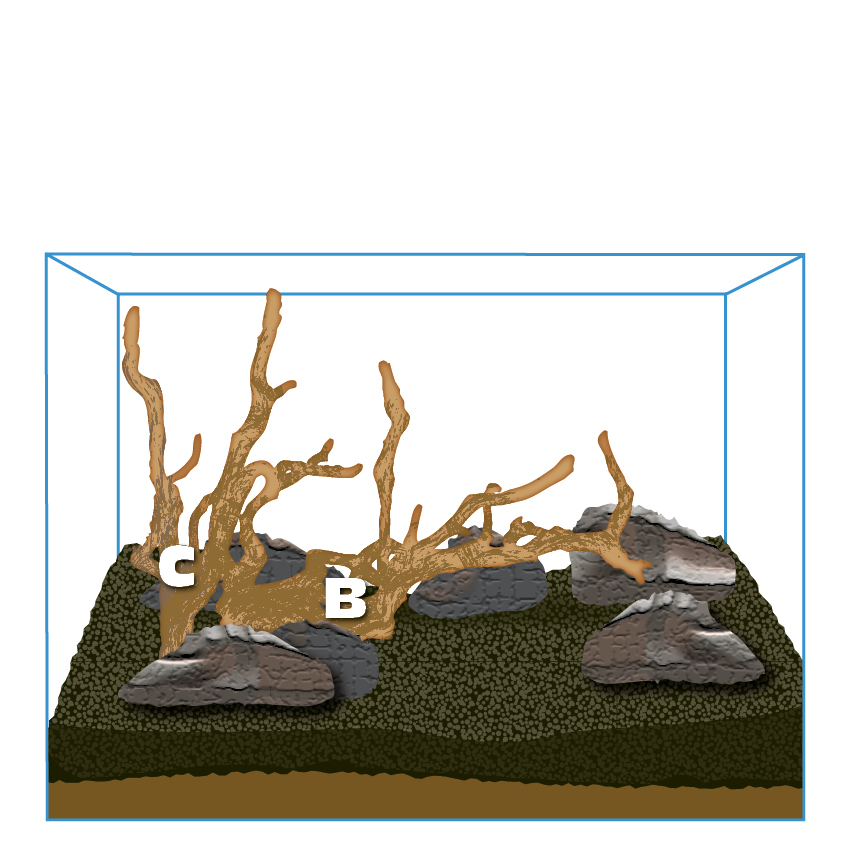
- 1 x sera Scaper Root S 25 – 30 cm (9.8 – 11.8 in.)
- 1 x sera Scaper Root M 30 – 35 cm (11.8 – 13.8 in.)
- 1 x sera floredepot 4.7 kg (10.4 lb.)
- 2 x sera Gravel Anthracite 6 l
An impressive landscape is created with the above mentioned products in only four steps:
1. Fill in nutrient soil
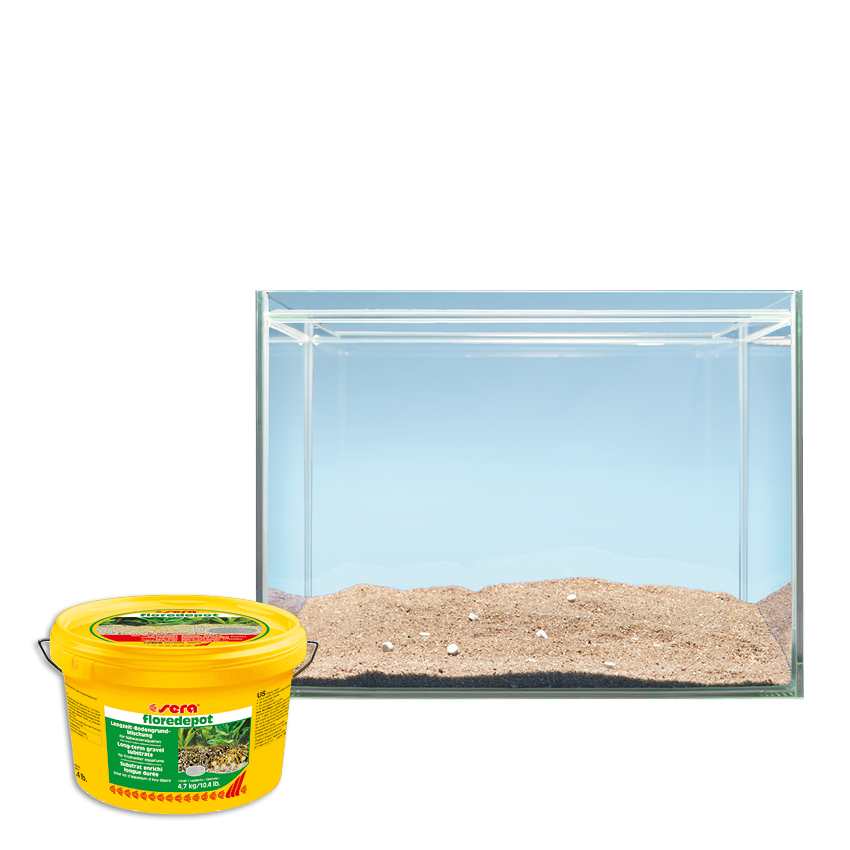
sera floredepot bottom ground is the basis for optimal plant growth and must not be missing in the Shrimp hardscape. It is distributed in a layer approximately 2–3 cm (0.8–1.2 in.) thick in the entire aquarium. For not disturbing the final appearance of the underwater landscape, we recommend hiding the nutrient soil behind the ornamental bottom ground along the aquarium glass.
2. Fill in decorative bottom ground
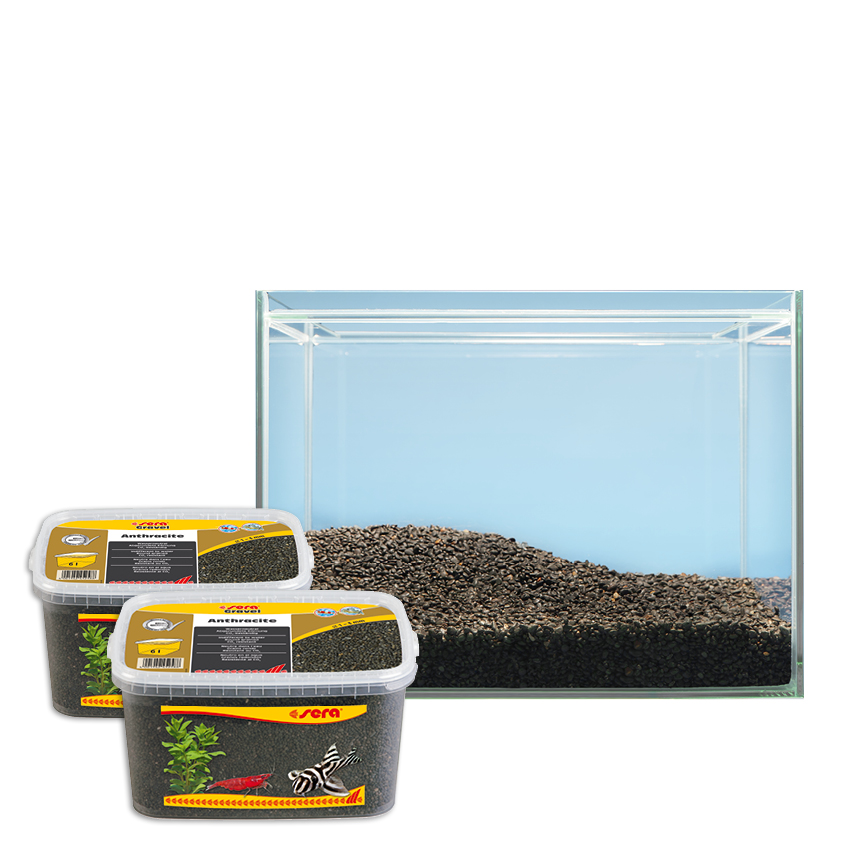
sera Gravel Anthracite is an anthracite colored natural gravel. The gravel is added to the aquarium in a 4–5 cm (1.6–2 in.) layer for the Shrimp setup example. A slight rising slope can be made in the left back of the tank. It provides an additional impression of depth for the underwater landscape and makes the space appear bigger.

3. Place rocks and roots
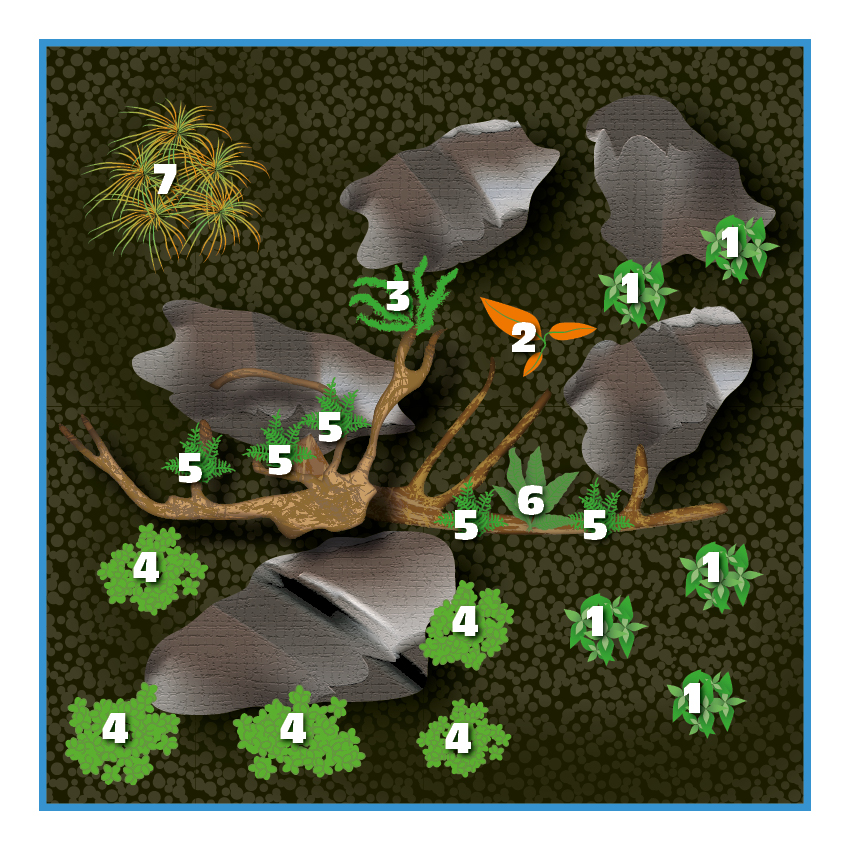
The six sera Rock Gray Mountain S/M rocks are placed in the aquarium in two groups of three. Both the sera Scaper Root S and the Scaper Root M are placed between the three rocks of the left group.

Most of the plants are planted into the bottom ground according to the planting layout. Vesicularia ferriei (5), Microsorum pteropus (6) and Crinum calamistratum (3) are placed on the roots, e.g. by means of suitable glue or fishing line.
Gently press a hole into the gravel with the fingers, or push it aside, for the bigger plants. Make sure the nutrient soil does not mix with the bottom ground and gets to the surface while doing so. The roots of the plants can be shortened to 2 cm (0.8 in.) if required, e.g. for planting them more easily. Please use sharp scissors (e.g. sera flore tool S) to do so for avoiding squeezing, which may lead to rot.
In case of smaller plants such as bottom covering plants, we recommend cleaving the plant carefully and without damaging single stems, and to plant them in smaller bushes with some distance to each other. This is best done with a pair of tweezers (e.g. sera flore tool P).
Tip: Before adding fish, it is worthwhile with new Cube setups to wait until the plants have grown on and cannot be pulled out by the fish anymore.
The hardscape setup just serves as an inspiration – there are no boundaries to your creativity.
The following plants have been used in this setup example:
1. Staurogyne repens (1 x)
2. Lagenandra meeboldii Red (1 x)
3. Crinum calamistratum (1 x)
4. Hemianthus callitrichoides Cuba (5 x)
5. Vesicularia ferriei (1 x)
6. Microsorum pteropus (1 x)
7. Pogostemon stellatus (1 x)